Note: The instructions below assume you have an existing Sapper project or you're starting a new project using
npx degit "sveltejs/sapper-template#rollup" my-appand that you've already added Svelteit like so:
npm install -D @colorfuldots/svelteit

# or if you prefer yarn

yarn add @colorfuldots/svelteit --dev
1. In order to process SCSS files you'll want to install autoPreprocess and node-sass by running the following command(s):
npm install -D svelte-preprocess node-sass

# or if you prefer yarn

yarn add svelte-preprocess node-sass --dev
2. Edit your rollup.config.js file by importing the autoPreprocess plugin like so:
// your other imports
import autoPreprocess from 'svelte-preprocess'
// some other imports
3. Now add the following config to both the client and server sections like so:
svelte({
  dev,
  hydratable: true,
  emitCss: true,
  preprocess: autoPreprocess(), <<----- ADD THIS TO CLIENT AND SERVER
}),
4. Add your components of choice in your index.svelte or other files where you'd like to use a Svelteit component like so:
<script>
  import { Button } from '@colorfuldots/svelteit'
</script>

<Button
  on:click={() => alert('Hello Svelteit!')}
  title="Hello Svelteit"
  primary
  rounded
  outlined
/>
If everything went smoothly, you should see something like this in your sapper app:
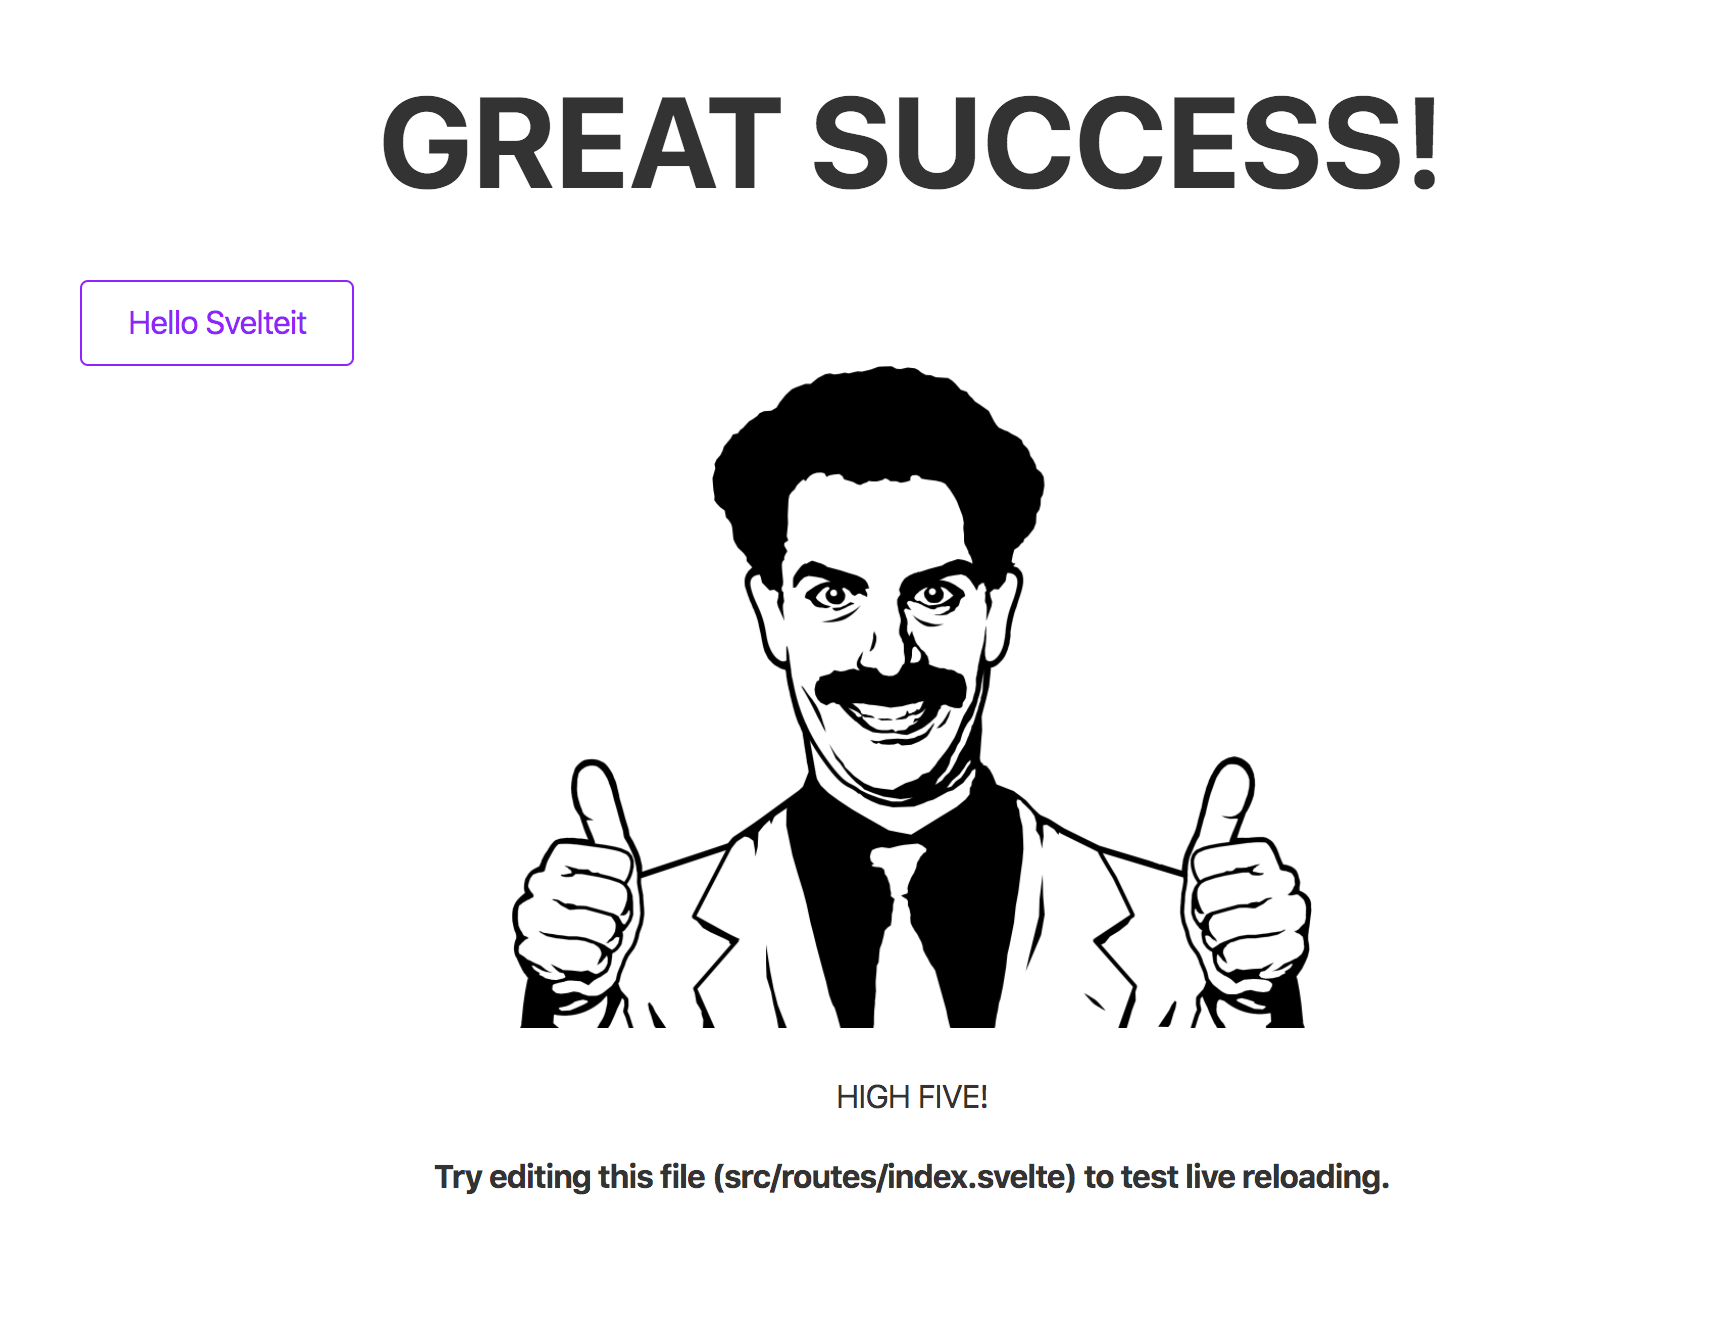
That's It! Now you're ready to "Svelteit"!